Turtle Fur Outdoor Life Hacks: D.I.Y. Mason Jar Torch
Indeed it is the 21st century, and yes - we are still using lanterns in the summertime. Why? Because nothing can beat the glow of a torch's flame lighting up your time spent outside at night. While flashlights are convenient, they aren't great for fixed outdoor lighting and they don't repel mosquitoes!
Now that warm summer nights are becoming a part of our weekends, there is no need to justify going for the "cool factor" with these DIY mason jar Tiki-torches. They're simple to make, cost-efficient and add great lighting to any outdoor experience this summer.
When it comes to conveniences in the outdoors, Turtle Fur has you covered for your comfort, but we also know that your surroundings play a role in great times spent outside. As habitual hikers and campers, the Turtle Fur Turtles are always coming in with new life hack ideas or how-to's from real-world experiences, including neat tricks to make any area even more amenable. So, for less than $20, you too can have the coolest* garden, patio, tent site or deck around to host guests and enjoy your summer nights around.
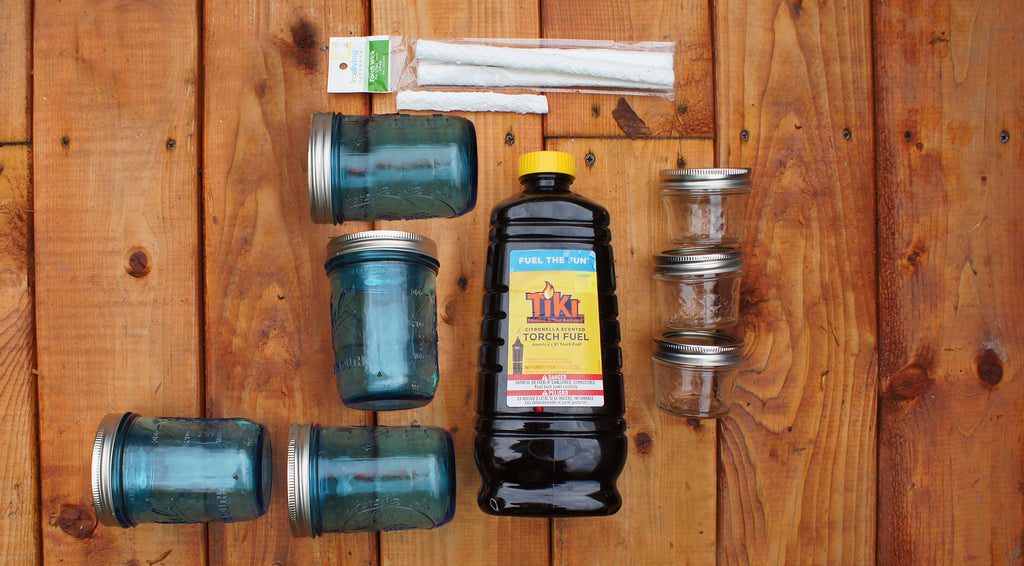
Materials:
-Mason Jars with lids (as many or as few as you would like!)
-Wicks (usually sold in 2 ct) (or make your own!**)
-Scissors
-Hammer
-Phillips head screwdriver
Step 1:
Putting a wick hole into the top of that mason jar - no drills necessary!
-Take your Phillips head and place it dead center on the lid.
-Take your hammer and tap gently (only tapping is needed - no back swing here!) on the end of the screw driver's handle.
-Continue tapping with your hammer until it breaks through the tin, thus leaving you with a perfect puncture.
-With the screw driver still through the lid, wiggle it to make the appropriate diameter to fit the width of your wick.
Step 2:
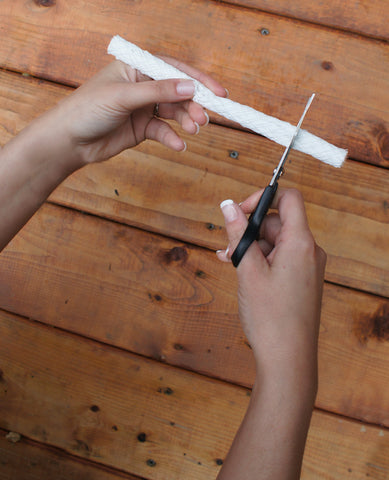
-Cut the wick to the length needed for the size (height) of the mason jar that you plan on using.
-If you have a large mason jar, you might not need to cut the wick down at all; to find out, hold your wick up to your jar to figure out the length you'll need with 1.5 to 2 inches of wick above the lid.
-For smaller jam and jelly mason jars, cutting the wick into thirds will usually do (and hey, now you have three!)
**You can also make your own wick using readily available cotton gauze strips. Take three strips of unrolled cotton gauze that measure a bit longer than you wish for your wick to be (be sure all three at the same length). Next, braid them as you would a bracelet, creating a low-cost and easy to find DIY wick for your Tiki torch!
Step 3:
Fill the mason jar with the citronella Tiki Torch fuel.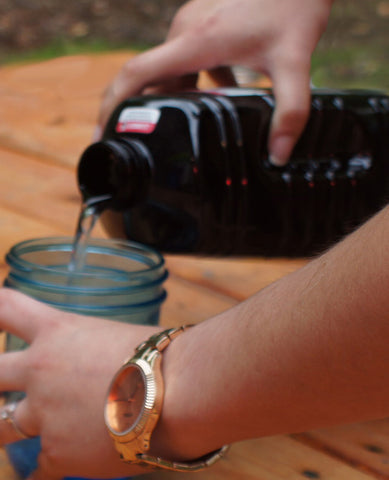
-Use a level platform when pouring the fuel.
-If you spill any fuel on your hands or on your work space, be sure to wash your hands thoroughly and clean up any traces of the Tiki lighting fluid that might have fallen onto the floor.
-Extra precaution would include moving to a different area to finish the project.
-Assess the volume of your mason jar by eye and fill it up about 50%-60% of the way (maximum) for safe measure.
-Keep in mind that you do not want, under any circumstances, for the oil to be too close to the top of the jar where the flame will be burning.
Step 4: 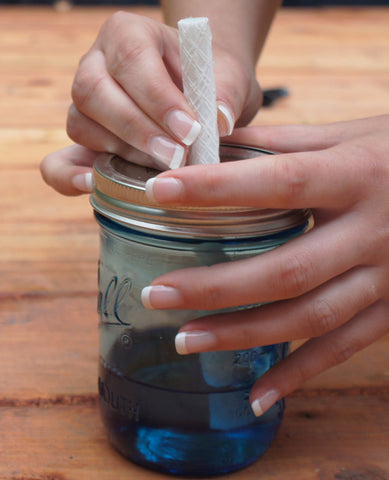
-Once you have the wick in place, screw the top back on to your mason jar.
-Let the bottom of the wick soak in the tiki fuel for about 1 minute before lighting it.
-Allowing adequate time for the wick to absorb the tiki lighter fluid will ensure that you have a ready-flow of oil to burn (and you'll avoid burning your wick!).
Final Step:
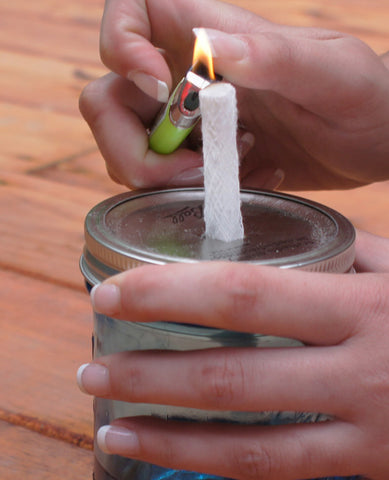
-Light the wick!
:
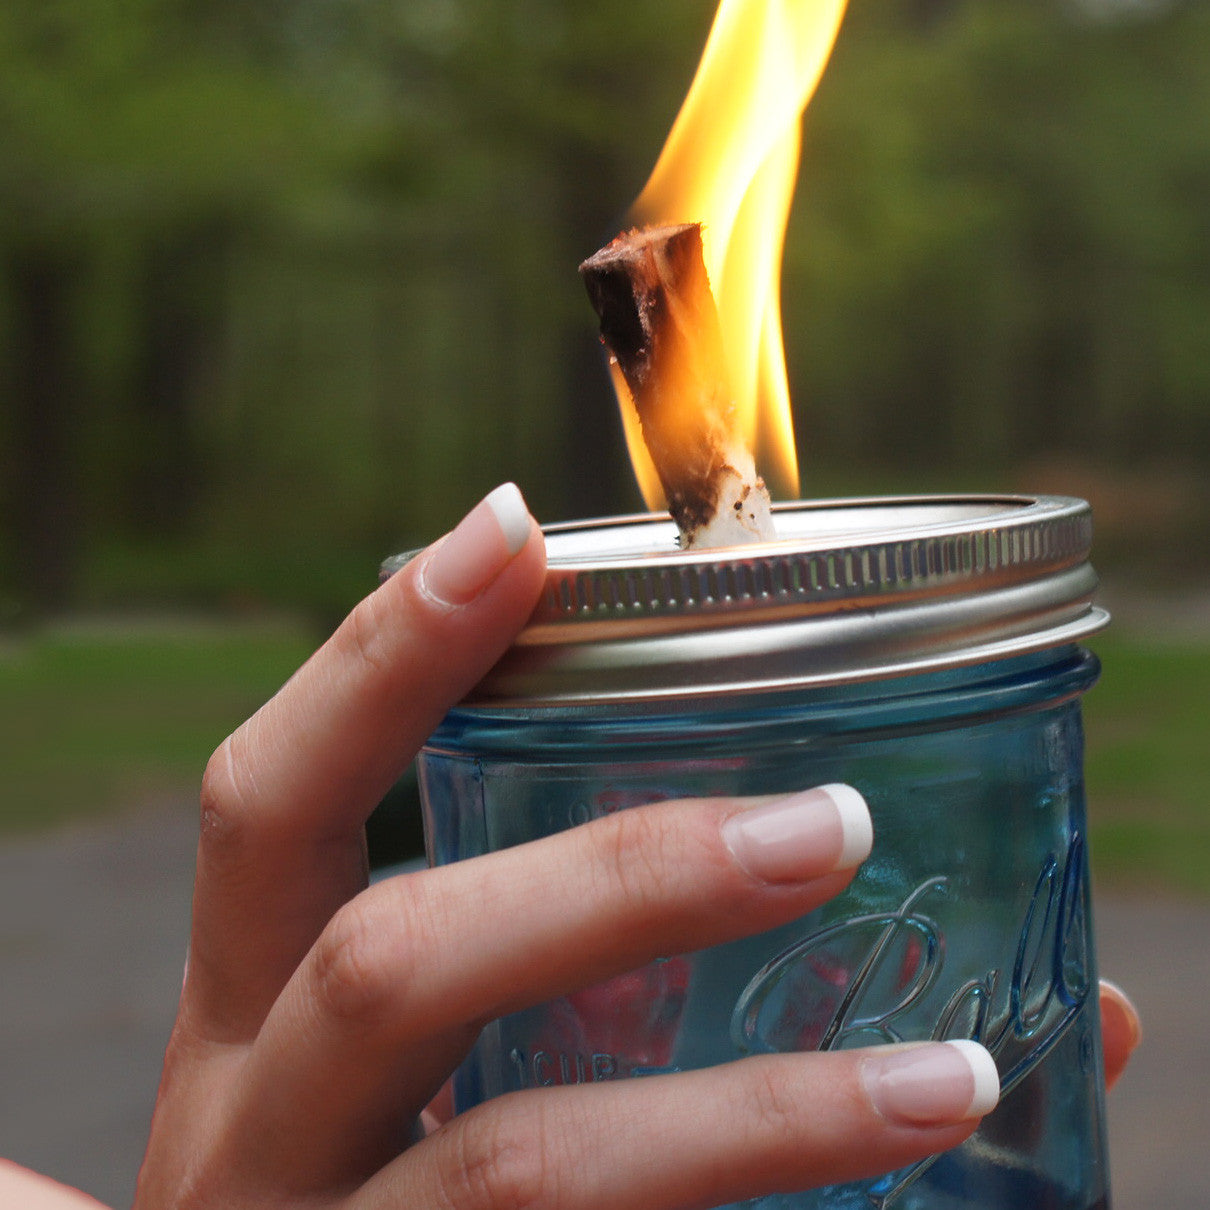
-Voila! You have a wind-resistant, mosquito repelling ambient light to enhance your outdoor decor - and all in a matter of minutes!
-You can make multiple upcycled mason jar torches for even more lighting and freedom from bugs and place them at least five feet away from any object in all directions.
- A 16 oz. tiki torch mason jar filled a little over halfway should last up to 5 hours.
- This style of torch has been around for a long time because of its reliability, but users should always use good judgment when lighting or keeping the lanterns lit. Keep in mind that the flame should not be anywhere near the surface of the oil within the mason jar (or any container of fluid). In short, never over-fill your lantern with oil.
-By only filling your mason jar half-way, you are helping to keep the odds on your side when it comes to having a safe outdoor experience.


